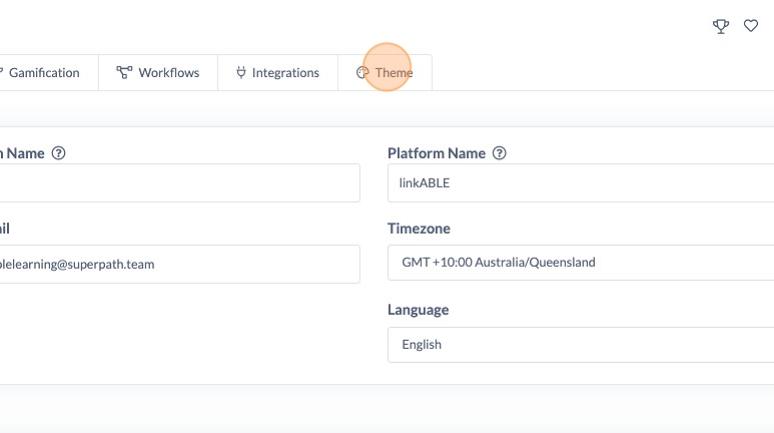
Navigate to Setting > General
Click "Theme"
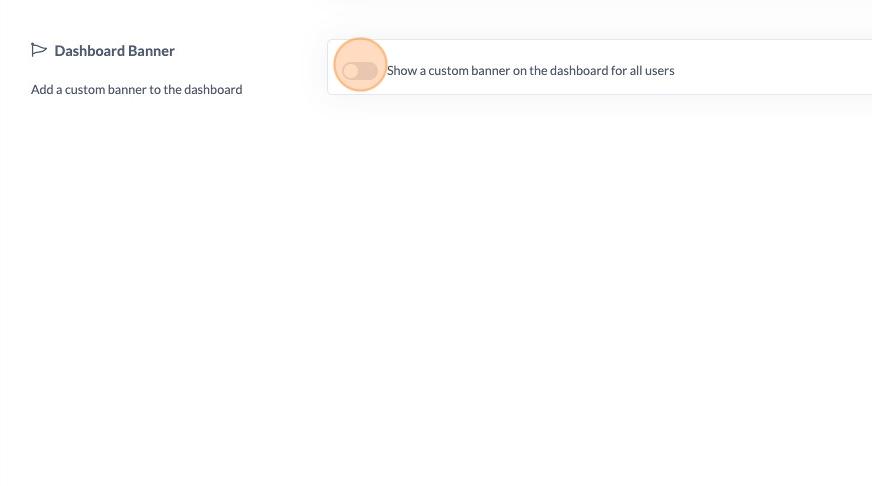
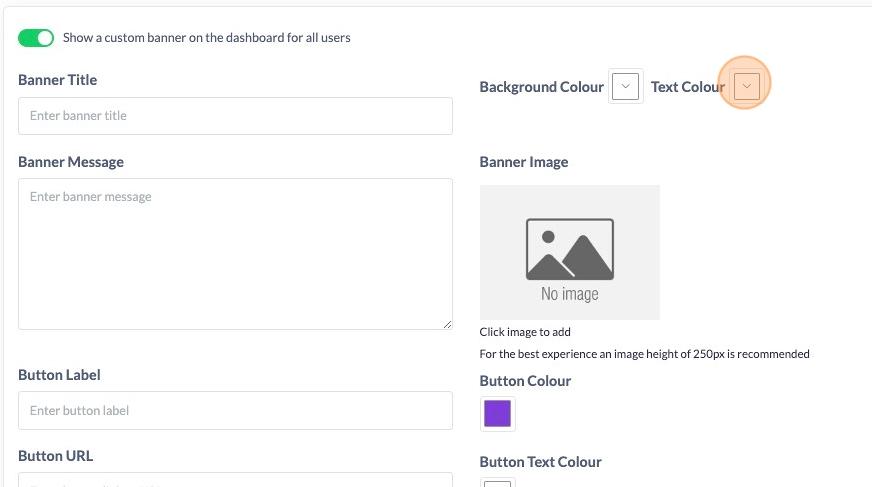
Toggle the Dashboard Banner to green if it is not already to enable you to update.
Note: If you enable your Dashboard Banner is must have an image OR a background colour with a title.
Click on the text box to enter a Banner Title.
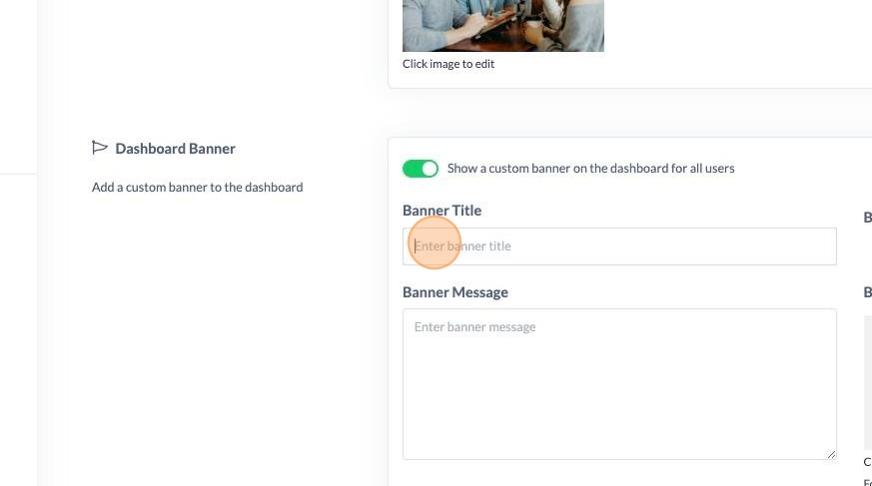
Click on the text box to enter a Banner Message.
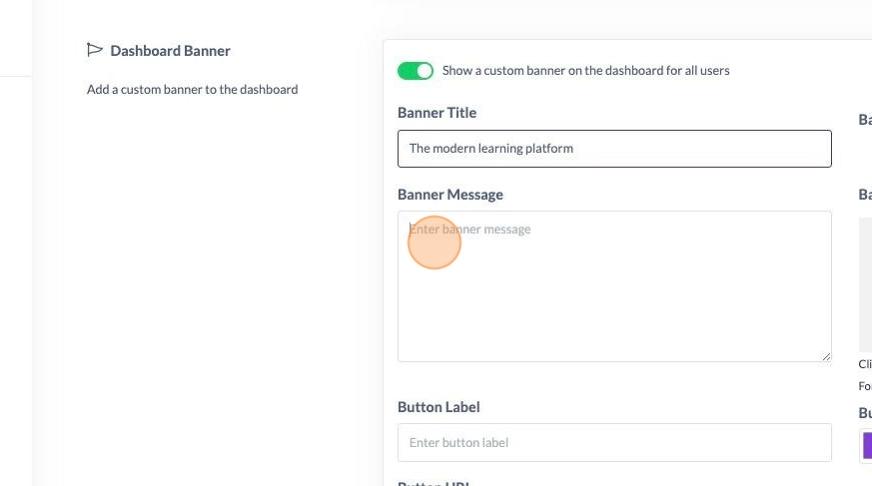
Click on the text box to enter a Button Label.

Click on the text box to enter a URL.

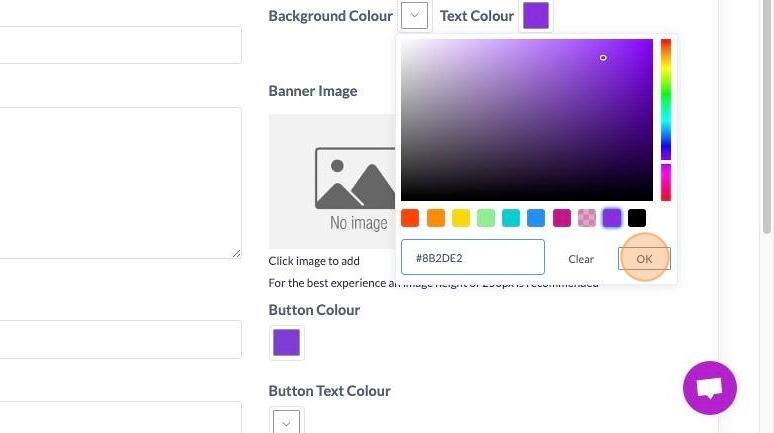
To update any of the background or text colours, click on the drop-down.
Either type in the HEX code for the colour you want or use the tool to select it, click 'OK'."
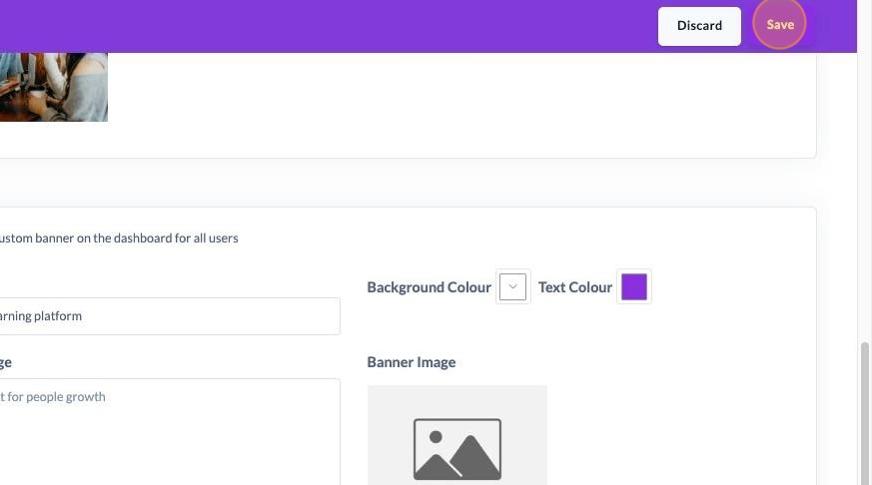
Click "Save"
To view your new-look dashboard, click on 'Dashboard'.
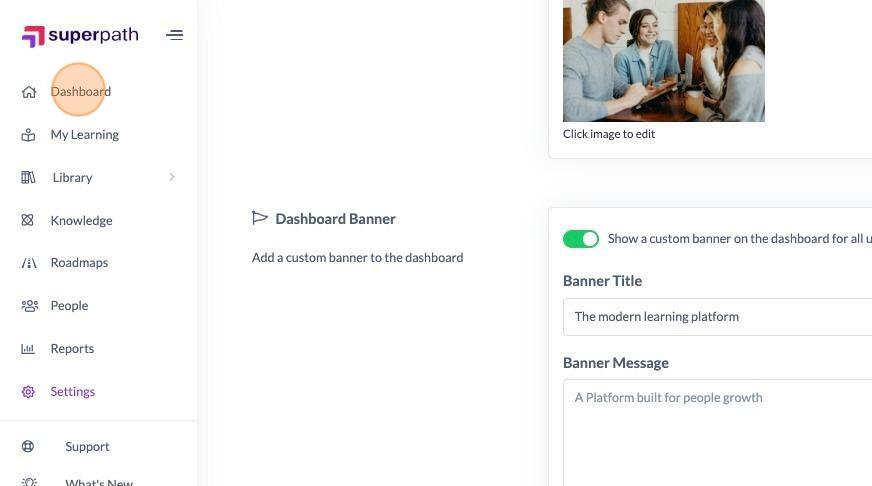
Your banner will be presented at the top of the page.

You can also add images to your banner.
Note: you can add PNG or GIF here, but your banner image height should be 250px. The image width will expand with the page, with your image anchored to the top-left.

You can choose one of the following options:
- Search for an image on Unsplash.
- Click the upload icon to use your own image.